SDG #106 4 Layer PCBs from JLCPCB - Lighting Controller Project Part 6 - Initial Testing
Part 6 of the lighting controller build moves the project from the breadboard to a four layer PCB, a meaningful step up from the two layer prototypes used earlier in the series. Four layers provide dedicated power and ground planes, which matters here because a controller switching LED loads needs low impedance returns and a clean supply for the logic. The video examines the boards as received from the fabricator, how the finish, drilling and silkscreen registration look under the microscope, and whether the extra cost over a standard two layer order is justified for a project of this complexity.
The assembly section covers hand soldering the fine pitch and passive parts, sequencing the work so that the power supply sections can be verified before anything expensive is fitted, and using a bench supply with current limiting as insurance against a shorted plane or a reversed part. Initial testing follows the same conservative order: rail voltages and current draw first, then confirmation that the microcontroller and switching stages behave as intended before any load is attached.
The result is a realistic picture of first power-up on a custom board. Some things work immediately and some small design issues only surface once real hardware is present, which is exactly why a low cost prototype run is worthwhile before committing to a final revision. The episode is a useful reference for a first move from two layer to four layer boards.
More Electronics Projects

SDG #374 Smart Home Lighting: Adding Wireless DMX to My ESP32 Controller
Adding wireless DMX to an ESP32-S3 touch dimmer using ESP-NOW, with a 16-channel receiver, pairing, smoothing and scope-verified DMX output.
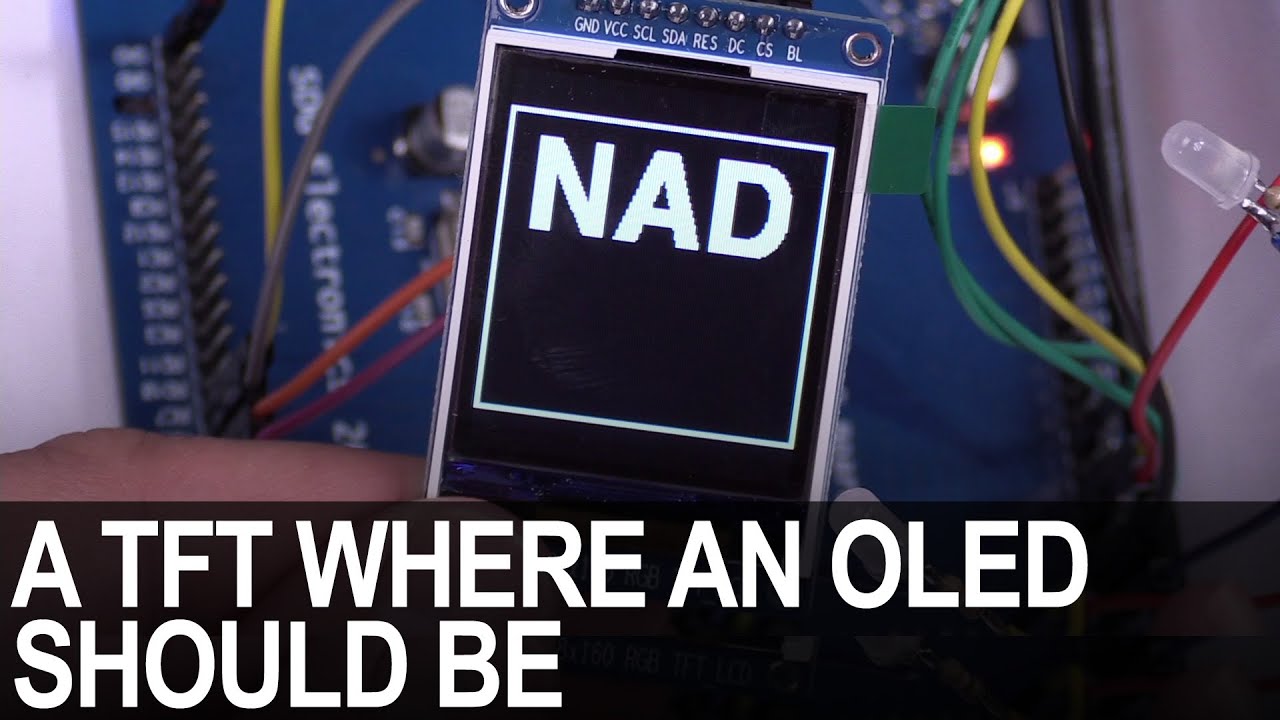
SDG #365 Reverse Engineering NAD D7050 OLED Replacement for IPS TFT
Decoding the NAD D7050's obsolete SSD1355 OLED protocol with a logic analyser, then driving an SSD1351 OLED and ST7735S IPS TFT as replacements.

SDG #360 Zero Crossing Detection and PCBWay 3D Prints
Testing PCBWay nylon PA12 and clear resin wall mounts for a Waveshare 4in ESP32-S3 touch dimmer, plus lower-power zero crossing detection options.