SDG #155 Looking at Radiated Emissions and 3D Printing for Increased Contrast - ESP32 Megaclock
This instalment of the ESP32 Megaclock build divides its attention between two practical problems: how much RF noise a fast switching LED display project radiates, and how to make that display readable in a bright room.
On the emissions side, the approach is deliberately informal rather than a compliance test. Using software defined radio receivers as a rough spectrum analyser and a near field style pickup, the board is probed to find where the switching harmonics fall and how far they extend up the spectrum. That kind of pre-scan is worth understanding for anyone designing their own multiplexed display or shift register driven board, because the clock edges, ribbon cables and long unshielded traces behave as antennas whether intended or not. Watching the noise floor rise and fall as different parts of the circuit are enabled is a fast way to identify the real culprit before reaching for ferrites, series resistors or slower gate drive.
The second half is a display contrast exercise. Bare LEDs on a white or green PCB scatter ambient light and wash out badly, so a dark 3D printed mask and diffuser layer is fitted over the digits. The result is a much deeper black background and cleaner segment definition, which is often a bigger visual improvement than pushing more current through the LEDs. It is a useful reminder that filament colour, layer thickness and surface finish are legitimate design parameters when a print becomes part of the optical path.
The episode is relevant to anyone building a large LED clock or panel who cares about both EMC behaviour and the finished appearance.
More Electronics Projects

SDG #374 Smart Home Lighting: Adding Wireless DMX to My ESP32 Controller
Adding wireless DMX to an ESP32-S3 touch dimmer using ESP-NOW, with a 16-channel receiver, pairing, smoothing and scope-verified DMX output.
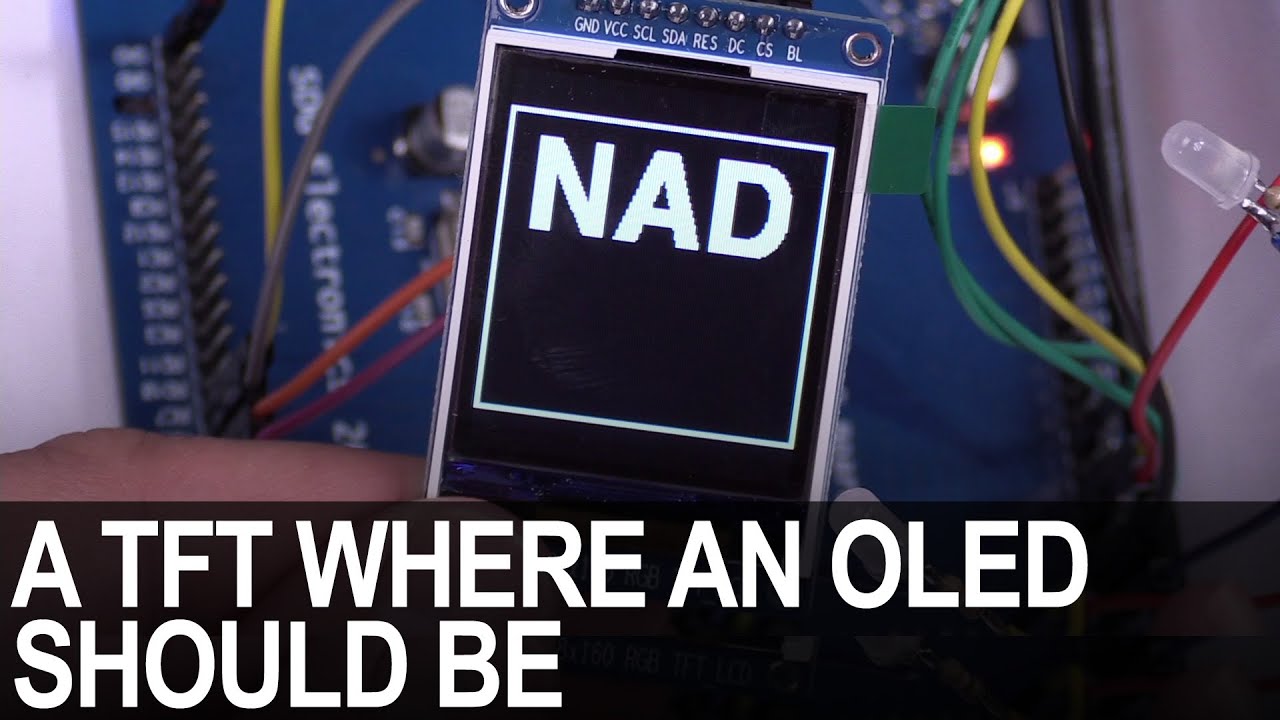
SDG #365 Reverse Engineering NAD D7050 OLED Replacement for IPS TFT
Decoding the NAD D7050's obsolete SSD1355 OLED protocol with a logic analyser, then driving an SSD1351 OLED and ST7735S IPS TFT as replacements.

SDG #360 Zero Crossing Detection and PCBWay 3D Prints
Testing PCBWay nylon PA12 and clear resin wall mounts for a Waveshare 4in ESP32-S3 touch dimmer, plus lower-power zero crossing detection options.