SDG #097 - Lighting Controller Project Part 4 with PCBs from JLCPCB
The lighting controller project reaches the stage every hobbyist looks forward to: the bare boards arrive and the schematic finally becomes hardware. This instalment focuses on turning the finished layout into a working assembly, covering how the panels were ordered, how the fabricated boards compare with the design intent, and where the layout choices made in earlier parts either paid off or created assembly difficulties.
Assembly forms the core of the episode. Fine pitch parts and small passives are placed with paste and reflowed or hand soldered under the microscope, with attention to how much flux is genuinely useful, how to keep solder bridges off closely spaced pads, and how to clean up afterwards so that faults are visible rather than hidden under residue. Anyone building their own small run board will recognise the practical trade-offs discussed: whether to stencil, whether to hand place, and how tip choice on a T12 style iron affects the outcome on larger ground pours versus tiny fine pitch legs.
The more valuable lesson is the debugging approach. Rather than powering a fully populated board and hoping, sections are brought up progressively so that power rails and supporting circuitry can be verified before the more expensive or sensitive devices are committed. That approach catches footprint mistakes, silkscreen ambiguity and orientation errors early, which is exactly the sort of problem a first revision board tends to hide. For viewers following the series, this part bridges design theory and a physical prototype that can be tested, and it sets up the firmware and functional testing work that follows.
More Electronics Projects

SDG #374 Smart Home Lighting: Adding Wireless DMX to My ESP32 Controller
Adding wireless DMX to an ESP32-S3 touch dimmer using ESP-NOW, with a 16-channel receiver, pairing, smoothing and scope-verified DMX output.
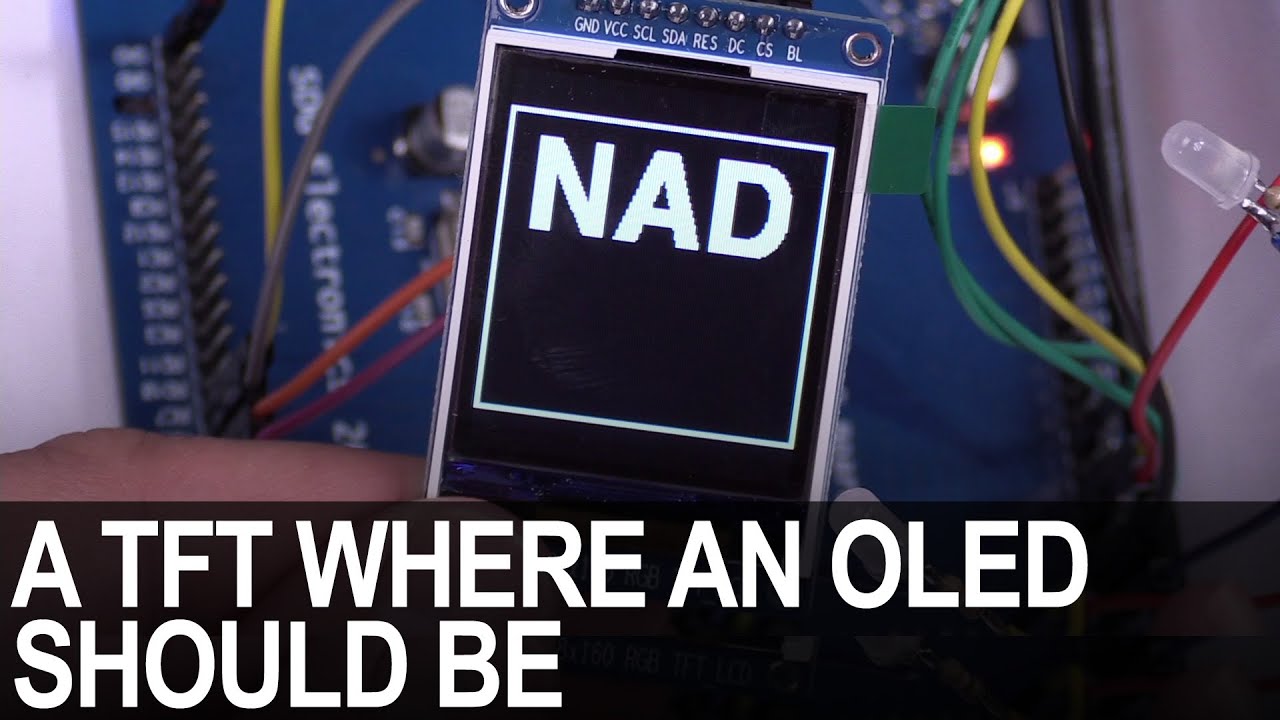
SDG #365 Reverse Engineering NAD D7050 OLED Replacement for IPS TFT
Decoding the NAD D7050's obsolete SSD1355 OLED protocol with a logic analyser, then driving an SSD1351 OLED and ST7735S IPS TFT as replacements.

SDG #360 Zero Crossing Detection and PCBWay 3D Prints
Testing PCBWay nylon PA12 and clear resin wall mounts for a Waveshare 4in ESP32-S3 touch dimmer, plus lower-power zero crossing detection options.