SDG #070 DIY Trailing Edge Dimmer - Lighting Controller Project - Part 3
Part 3 of the trailing edge dimmer build shifts focus from the power switching stage to the timing reference on which everything else depends: the zero crossing detector. In a trailing edge design the MOSFET based solid state switch is turned on at the start of each mains half cycle and switched off part way through, so the accuracy and repeatability of the zero cross pulse directly determine how stable the dimming level appears. Jitter, false triggers or a pulse that arrives late all show as visible flicker or as asymmetric conduction between half cycles, which can put DC through an inductive load.
The work here concerns cleaning up that detector so that the microcontroller sees one clean, well timed edge per crossing rather than a noisy, drooping waveform. That means examining how the detector behaves around the crossing itself, where the signal amplitude is smallest and noise has the most influence, and confirming that the resulting gate drive lines up with the AC waveform as expected.
Because the circuit sits at mains potential, probing it safely is a real constraint rather than a detail. A differential probe removes the need to reference measurements to earth, so both the low voltage detector output and the live side waveform can be compared on the same screen without creating a short through the oscilloscope ground. Anyone attempting a project like this should treat that tooling as part of the build cost, not an optional extra, and should expect the zero crossing stage to need more iteration than the switching stage.
The episode is relevant to anyone designing mains phase control, where the temptation is to trust a simple opto based detector without checking what the edge actually looks like under load.
More Electronics Projects

SDG #374 Smart Home Lighting: Adding Wireless DMX to My ESP32 Controller
Adding wireless DMX to an ESP32-S3 touch dimmer using ESP-NOW, with a 16-channel receiver, pairing, smoothing and scope-verified DMX output.
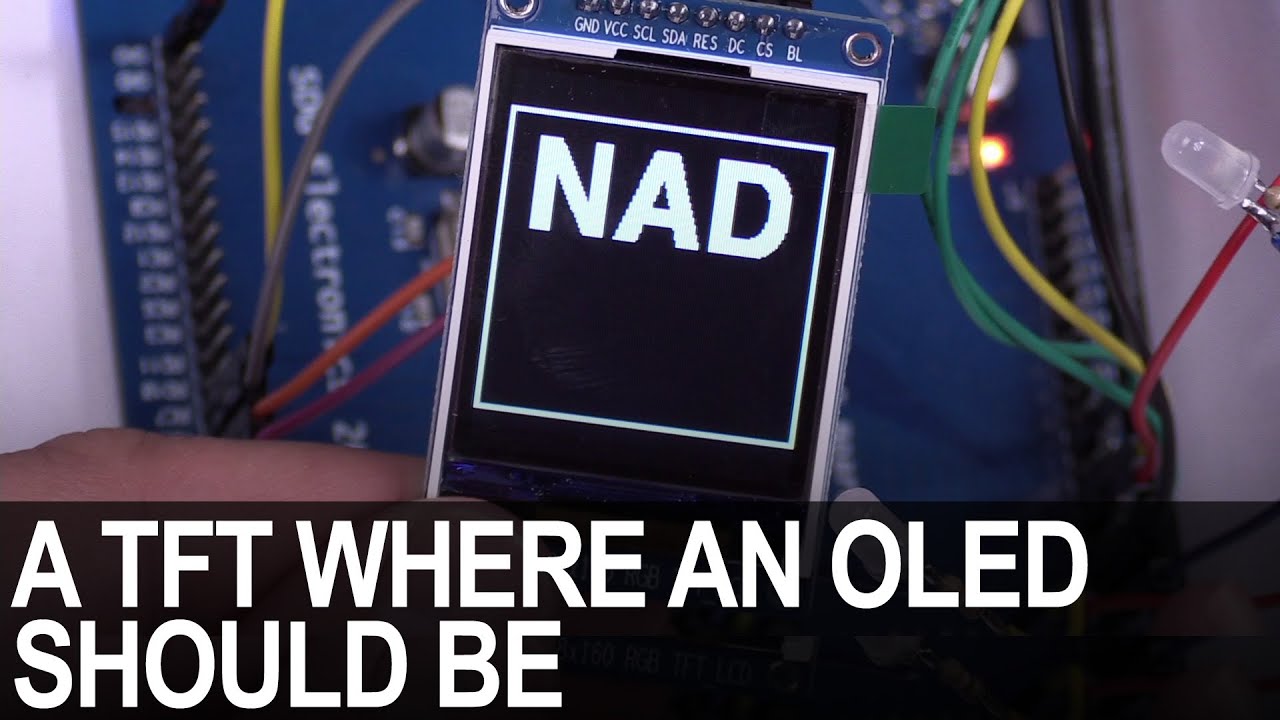
SDG #365 Reverse Engineering NAD D7050 OLED Replacement for IPS TFT
Decoding the NAD D7050's obsolete SSD1355 OLED protocol with a logic analyser, then driving an SSD1351 OLED and ST7735S IPS TFT as replacements.

SDG #360 Zero Crossing Detection and PCBWay 3D Prints
Testing PCBWay nylon PA12 and clear resin wall mounts for a Waveshare 4in ESP32-S3 touch dimmer, plus lower-power zero crossing detection options.