SDG #161 Step-by-step parts selection and schematic - Microscope LED Ring Light
This is the design stage of a custom microscope LED ring light, and it is more useful than a typical build video because the reasoning behind each component choice is set out rather than assumed. The goal is a ring illuminator that improves on the cheap stock lights bundled with most stereo microscopes, which tend to be dim, uneven, poorly colour matched and often flicker under camera capture.
The parts selection works through the trade-offs that actually determine how well a ring light performs: LED package and die size, forward voltage and how it accumulates across a series string, colour temperature and CRI (important when resistor colour bands or discoloured solder joints must be distinguished), and thermal behaviour, since LEDs run at any real brightness need somewhere to dissipate heat. The focus then moves to driving the LEDs properly. Constant current regulation rather than a crude series resistor is the key decision, because it keeps brightness stable as the LEDs warm up and their forward voltage drifts, and it makes the design tolerant of supply voltage variation.
Dimming is treated as a primary design requirement, not an afterthought, along with the input supply arrangement and protection parts. The schematic is then assembled block by block, showing how the driver stage, current sense elements and control input tie together, plus the connector and mechanical constraints imposed by fitting a PCB ring around a microscope objective.
For anyone planning their own illuminator, the conclusion is that the LEDs are the easy part; the driver topology, thermal path and dimming scheme decide whether the finished light is genuinely better than the one already owned.
More Electronics Projects

SDG #374 Smart Home Lighting: Adding Wireless DMX to My ESP32 Controller
Adding wireless DMX to an ESP32-S3 touch dimmer using ESP-NOW, with a 16-channel receiver, pairing, smoothing and scope-verified DMX output.
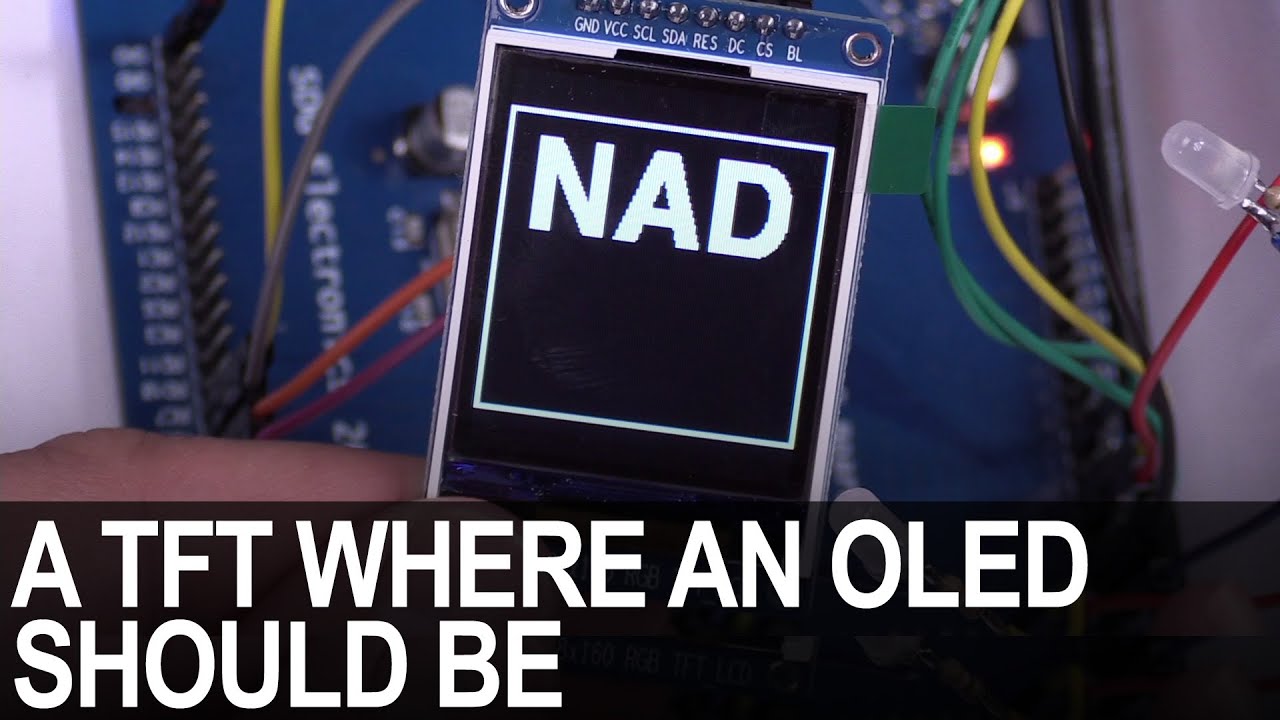
SDG #365 Reverse Engineering NAD D7050 OLED Replacement for IPS TFT
Decoding the NAD D7050's obsolete SSD1355 OLED protocol with a logic analyser, then driving an SSD1351 OLED and ST7735S IPS TFT as replacements.

SDG #360 Zero Crossing Detection and PCBWay 3D Prints
Testing PCBWay nylon PA12 and clear resin wall mounts for a Waveshare 4in ESP32-S3 touch dimmer, plus lower-power zero crossing detection options.