SDG #170 Troubleshooting the Ring Light PCB. JLCPCB Fail??
A newly delivered batch of assembled LED ring light PCBs that refuses to light is one of the more frustrating outcomes in hobby electronics, and this episode works through the diagnostic process rather than jumping to conclusions. The board in question is the microscope ring light design from the earlier build video, ordered as a turnkey SMT assembly job, which makes fault finding a two part question: whether the design is at fault, or whether something went wrong during manufacture.
The troubleshooting approach is the useful part. Rather than reflowing parts at random, the process starts with basic continuity and voltage checks against the schematic, then narrows to individual component footprints and the constant current driver circuitry to see where the expected voltages disappear. Comparing what the multimeter reads against what the design predicts is what separates a genuine assembly defect from a layout or footprint mistake made at the design stage, and that distinction matters when raising a complaint with a PCB house.
For anyone ordering their own assembled boards, the conclusions are practical. Component orientation and polarity markings on LEDs and small ICs are a common source of confusion between designer intent and assembler interpretation, and part substitutions or rotation errors can produce a board that looks perfect under the microscope while being electrically dead. Adding accessible test points and keeping the BOM unambiguous costs almost nothing at design time and saves hours of probing later. The episode ends with a fair verdict on where the responsibility actually lies, which is more informative than a simple pass or fail on the service itself.
More Electronics Projects

SDG #374 Smart Home Lighting: Adding Wireless DMX to My ESP32 Controller
Adding wireless DMX to an ESP32-S3 touch dimmer using ESP-NOW, with a 16-channel receiver, pairing, smoothing and scope-verified DMX output.
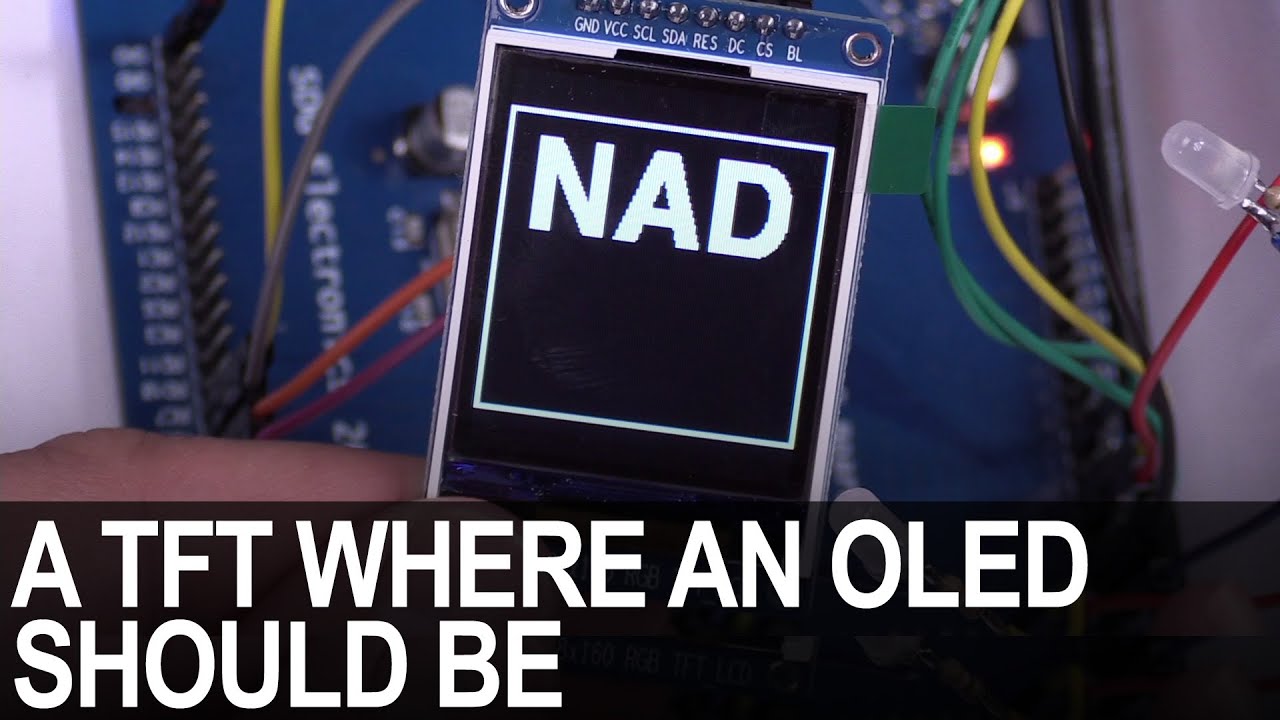
SDG #365 Reverse Engineering NAD D7050 OLED Replacement for IPS TFT
Decoding the NAD D7050's obsolete SSD1355 OLED protocol with a logic analyser, then driving an SSD1351 OLED and ST7735S IPS TFT as replacements.

SDG #360 Zero Crossing Detection and PCBWay 3D Prints
Testing PCBWay nylon PA12 and clear resin wall mounts for a Waveshare 4in ESP32-S3 touch dimmer, plus lower-power zero crossing detection options.