SDG #174 Testing out a chassis using the Creality Ender 3 V2 with PCBs from JLCPCB
This episode moves the LED soldering microscope ring light project from the bench to a 3D printed enclosure, using a Creality Ender 3 V2 to produce a chassis that must house the assembled boards, keep the LEDs positioned correctly around the objective lens, and mount cleanly to a microscope.
The most instructive part for anyone building their own hardware is the iteration loop. A printed prototype exposes what CAD does not: whether the PCB drops into its recess without filing, whether the screw bosses line up with the mounting holes, how much clearance the wiring needs, and how much first layer squish and the general dimensional tolerance of an FDM printer reduce the designed gaps. Test fitting the real boards against the printed part is the only reliable way to catch those issues before committing to a final version.
The Ender 3 V2 itself receives a practical workout rather than a formal review. It is a budget bed slinger, so the relevant questions are print quality on functional parts, bed adhesion and levelling behaviour, and whether the results are accurate enough for parts that must mate with a PCB. For a project chassis of this size it is more than adequate, and the low cost of a failed print makes repeated design revisions cheap.
The lesson is one of workflow: design, print, fit, revise. Anyone pairing an assembled PCB with a printed housing should allow for at least two or three prototype prints before the dimensions settle, and should design in generous tolerance around board edges and connectors from the start.
More Electronics Projects

SDG #374 Smart Home Lighting: Adding Wireless DMX to My ESP32 Controller
Adding wireless DMX to an ESP32-S3 touch dimmer using ESP-NOW, with a 16-channel receiver, pairing, smoothing and scope-verified DMX output.
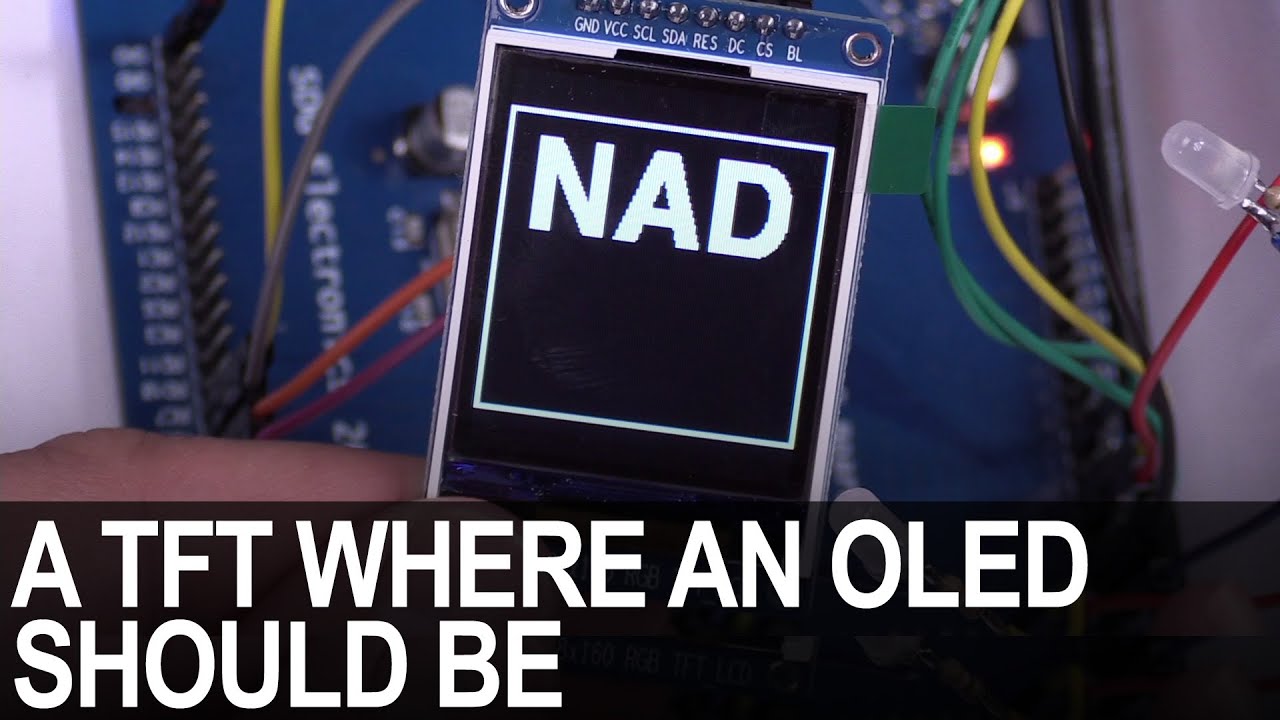
SDG #365 Reverse Engineering NAD D7050 OLED Replacement for IPS TFT
Decoding the NAD D7050's obsolete SSD1355 OLED protocol with a logic analyser, then driving an SSD1351 OLED and ST7735S IPS TFT as replacements.

SDG #360 Zero Crossing Detection and PCBWay 3D Prints
Testing PCBWay nylon PA12 and clear resin wall mounts for a Waveshare 4in ESP32-S3 touch dimmer, plus lower-power zero crossing detection options.